Ever catch one of those Tasty videos in your Facebook feed? Mesmerizing, right? Lilli caught one over my shoulder a few months back, and ever since she’s been hooked on watching recipes on the Internet. It wasn’t long before she and I discovered that you can basically watch a recipe of anything on YouTube. Her favorites are the intricate cake recipes, of which she, and now I, have watched have watched far more times than I would like to admit.

There are teen bakers, baking bloggers who do all sorts of incredible things with food coloring and pastry bags, an Australian baker who leans heavily on using chocolate bars on his cakes. Lilli likes this last one a lot, and so I promised her we would make our own cake using her leftover Halloween candy. This turned out to be a lie, because certain adults in the house have been nibbling away at it over the past three weeks. Ahem.
But we finally made our cake this weekend, and it went off without a hitch, just like we saw on the Internet. I didn’t use person’s recipe per se, but created one out of what I learned watching countless hours of online videos.
What I have prepared for you are directions on how to make a rainbow cake. I promise you it’s easy; it just takes a little bit of patience and time. (Ours took about two hours from start to finish.)
First thing’s first: Find yourself a vanilla cake recipe. Make sure it’s a vanilla cake, not a yellow cake, because that will mess up the colorings. This is the recipe we used.
Next, secure your frosting recipe. I always vote for cream cheese frosting, and this is my go-to, but if you have a vanilla frosting recipe – remember, it has to be white – then use that one instead. Take out the ingredients for your frosting to come to room temperature when you start preparing your cake batter.
Now, I had never used food coloring until this cake. I’ve always been a little skittish about such things, so I went to the nice kitchen store in town and bought them there. The ones they had on their shelf were the same ones that the online bakers all use. But if you have a favorite brand you use, then please, do what you feel.
We used Kit Kats around the outside of the cake and M&Ms to decorate the top. The Halloween sized ones would have been the right height for the cake, but fortunately the large bars we used also fit when cut in half. Skittles will work as well for the décor, but I’m the only one in the house that likes fruity candies, so I would be the only one who’d eat the cake. I’m actually not a fan of M&Ms, so this was a guarantee that I wouldn’t sit and eat the entire cake myself.
Now that you’ve assembled the ingredients, assemble the cookware and utensils you’ll need. Grab as many 9-inch cake pans as you have. I had three so I ended up using each one twice for my six separate colors. I had Lilli butter them, but then I sprayed a layer of Baker’s Joy on top of that.
If you are using six separate colors, then get out six separate bowls and six separate spoons. An ice cream scoop, if you have one, is very useful.
Now, it’s time to start making your cake. As you can see from my photos, it was six very thin layers. If you want a cake that will have your friends and family oohing and ahhing, I mean, even more than this, then double the recipe to make thicker layers.
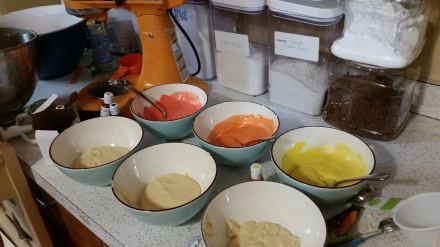
Now that your batter is prepared, evenly divide it into the six bowls. This is where the ice cream scoop comes in handy. Next, add your food coloring. We had to mix colors to make the orange and the purple, and it was a fun way to practice our colors. I hope you’re wearing an apron!

Now it’s time to bake. Carefully scrape the first bowl of colored batter into your first cake pan. It’s probably very thin, so gently push the batter to the sides of the pan with the spoon.
I baked my cake layers three at a time in the oven. Please keep an eye on them; mine were done in about 13 minutes. When they are baked through, remove the pans from the oven and set them on cooling racks to cool, which they will do very quickly. Turn the cakes out, let the pans cool, wash them, then repeat baking the remaining colors of batter.

While this is going on, have a small child practice their sorting skills by separating the Skittles or M&Ms into small bowls. This is also when you can make your frosting.

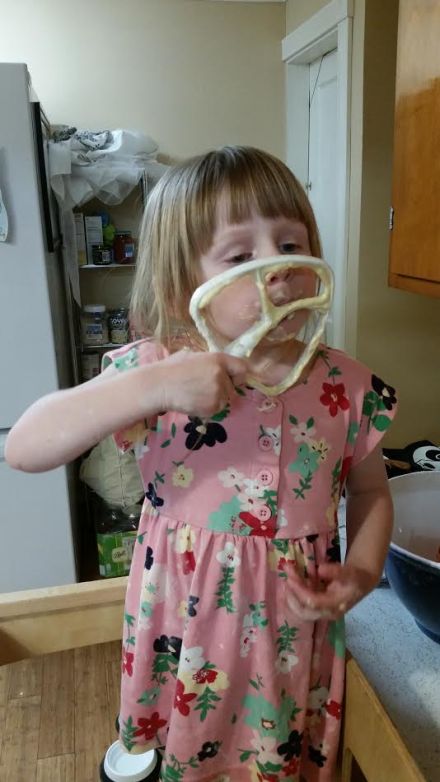
Lilli, auditioning to be a roadie for Van Halen.
Once your cakes are completely cool, it’s time to assemble. I find the easiest way to frost a cake is by placing it on a plate covered in wax paper, and place that on a Lazy Susan, if you have one.
Layer of cake, little bit of frosting on top, spread with an offset spatula, then next layer of cake, and so on.
It’s honestly up to you to choose a design. Rich pointed out that I’d actually stacked my cake layer colors in reverse. Make sure you save enough frosting to cover the outside and sides of the cake; your frosting acts like a glue.

Once it’s assembled, put it in the fridge for about an hour to set and firm up.
And how was it? Very tasty, although Lilli simply picked off the M&Ms and Kit Kats, ate those, and left the cake.
PS – This was Lilli’s theme song all summer long.


